
Professional Erosion
Control and Pipe Supply
VISIT OUR NEW LOCATION IN SHERMAN
Control and Pipe Supply
VISIT OUR NEW LOCATION IN SHERMAN

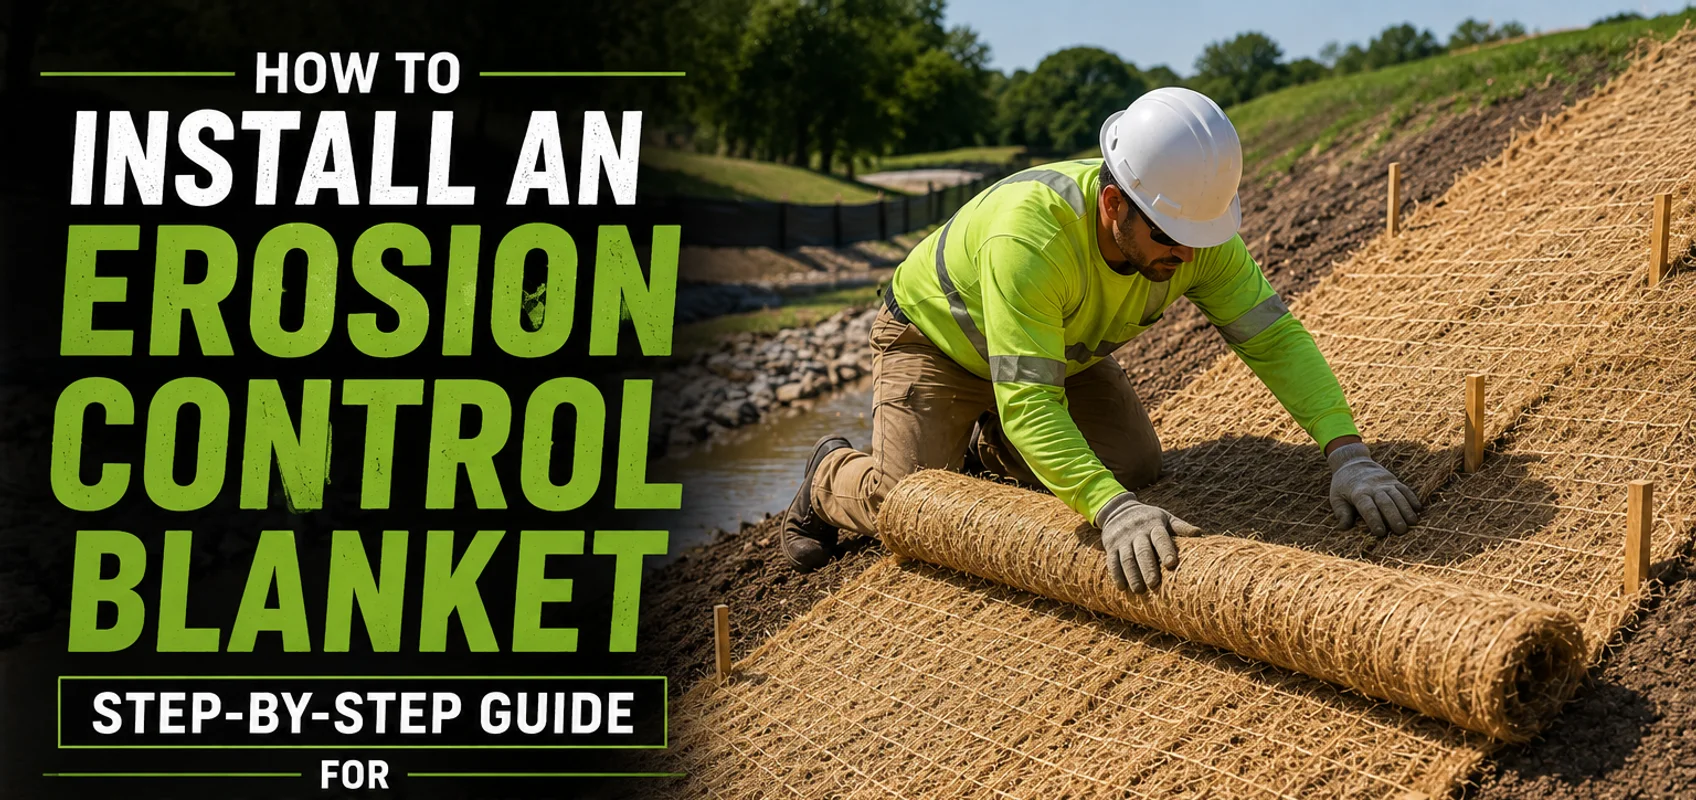
An erosion control blanket (ECB) — also called a soil retention blanket — is one of the most reliable tools for stabilizing disturbed soil on slopes, in drainage channels, and along streambanks. But a blanket installed incorrectly will fail at the first significant rainfall: it will undercut at the top, bridge over low spots, or peel back at seams where the overlap runs the wrong direction.
Getting the installation right comes down to a handful of details — anchor trench depth, pin spacing by slope angle, overlap direction, and seeding sequence. This guide walks through the full process from site prep to final inspection, with the specific measurements and specifications that determine whether the installation holds.
If you are still deciding between straw and coconut fiber materials, see our comparison of straw vs. coconut fiber erosion control blankets first. This guide picks up after material selection.
The installation specs change based on what you are installing and where. Confirm your blanket classification before ordering:
Using a slope-rated blanket in a channel, or under-specifying for steep grades, are the two most common causes of blanket system failure. Get the classification right before the material ships.
Grade the slope to remove ruts, rocks larger than 1.5 inches, and debris. Loosen the top 3–4 inches of soil so roots can penetrate through the blanket mesh once vegetation establishes. Remove large clods — they create air pockets between the blanket and the soil surface that dry out germinating seed and allow wind uplift.
Apply seed at the specified broadcast rate before installing the blanket whenever possible. Seed-first installation gives better seed-to-soil contact than seeding on top of an installed blanket, especially on steep slopes where broadcast seed tends to slide.
At the top of the slope, dig a trench 6 inches deep and 6 inches wide, running the full width of the installation area. This step is skipped more than any other and accounts for a significant percentage of blanket failures on steep slopes.
Place the first 12 inches of the blanket roll into the trench. Fold it back on itself, then staple across the fold at 12-inch intervals. Backfill and compact the trench. A properly anchored top prevents runoff from undercutting the blanket from the uphill edge — without it, the first major rain event will peel the blanket down the slope.
At the bottom of the slope, fold 12 inches into a second trench or stake the lower edge with a full row of staples spaced 12 inches apart.
Always unroll ECB parallel to the direction of water flow — from top of slope to bottom. Never roll blanket across the slope. Cross-slope installation creates transverse seams that intercept and channel runoff laterally, concentrating flow at the lap edges and accelerating erosion exactly where you are trying to prevent it.
Keep the blanket taut against the soil surface as you unroll, without stretching it. The blanket should make full contact with the soil, including in low spots. Any bridging — where the blanket sags across a depression without touching soil — creates a void where water will accumulate, seed will not germinate, and the blanket may collapse under foot traffic or rain impact.
Staple density is the most under-specified part of ECB installation. The minimum spacing varies by slope angle and application:
Always place a staple within 3 inches of every seam edge and blanket overlap. On sandy soils or very steep grades, switch to 12-inch stakes — standard 6-inch wire staples will pull out under the uplift forces generated by fast-moving water or wind.
Drive staples perpendicular to the slope surface, not straight down. A staple driven vertically on a steep slope relies only on soil friction to hold; a staple driven flush with the slope face distributes load across a wider soil zone.
Where two rolls meet side by side, the upslope roll laps over the downslope roll by a minimum of 6 inches. At end-to-end joints going down the slope, the upper roll laps over the lower by a minimum of 12 inches. Place a full staked check row — staples every 12 inches across the full width — at every end-to-end overlap.
Reversed overlaps are the most common multi-roll installation error. Water running over a blanket edge oriented upward (the lower roll on top) will lift and peel it back within one storm. Always confirm overlap direction before stapling.
Standard slope installation specs are not sufficient for drainage channels. Channels with flowing water require:
In channels with consistent or high-velocity flow, use a blanket rated specifically for channel applications. The tensile strength and staple hold-out values are different from slope-rated products, and using a slope product in a flowing channel is a failure waiting to happen. See our guide on ditch erosion control methods for additional context.
After stapling is complete:
Once vegetation reaches 70% ground cover, the blanket has served its structural purpose. Natural fiber ECBs break down and incorporate into the soil — no removal required.
Texas Erosion Supply stocks the full range of erosion control blankets — single-net straw, double-net straw/coconut blends, 100% coconut fiber, pre-seeded options, and channel-rated products — along with 6-inch and 12-inch wire staples and channel check row materials for complete installations. We serve contractors, municipalities, and landowners across Texas with both standard and custom-sized orders.
Request a quote or contact us to discuss product specs, volume pricing, or help sizing your project.
Find out more by contacting us and get the advice on how to implement drainage solution for your necessities!
